With summer’s arrival and the days of freedom on the forefront of every student’s mind, many find themselves searching for the perfect pair of shorts for the summer. Some are too long, others too short, some cost too much, while others aren’t sold in the right size; the tortures of unsuccessful shopping are endless. So avoid the malls this summer, give the wallet a break, embrace the DIY trend and make a custom pair of cut-off shorts.
What You Need:
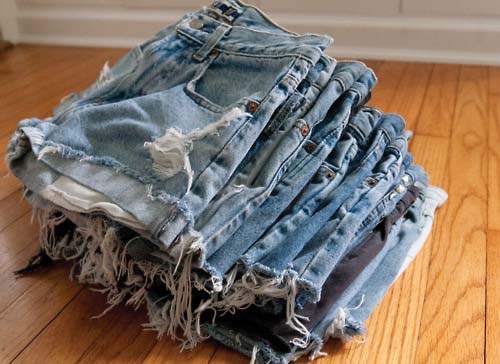
- Old pair of jeans
- Sharp scissors
- Pen
- Needle
- Blue-jean thread
Steps:
1. Identify the pair of jeans to be remade, put them on.
2. Using a pen, mark about two inches below the desired end length to allow excess to straighten the cuts and cuff if desired.
3. Remove the now-marked jeans and place them on a flat surface. Remove all creases in the fabric and be sure it is laying flat on the surface.
4. Using the scissors, cut through only the top of the jeans, creating a straight, smooth cut. Now repeat on the back of the same leg of the jeans, lining up the cut with the front.
5. Fold the evenly cut shorts leg over the still uncut leg of jeans. Line the shorts up, using them as a guide for the other leg’s length. Cut each layer at a time until all of the excess jeans have been cut.
6. Straighten out edges and cut off excess fabric.
7. If a cuff is desired, fold the bottom of the jeans up to desired cuff width and press with an iron. Then, using a needle and thread, sew the cuff into place using small stitches in the front and larger stitches on the inside, where they will be concealed. Tie off the thread, and the cuff has been secured.
Story by Shannon MacAllister, Assistant Features Editor.
Wash them in hot water with a hot water rinse. Remove after the wash and let them air dry. You are all set with you custom jeans http://www.jeanscustom.com/.